Friday, February 22, 2013

Spelling/Sight Word Practice Part 3

I have a few more spelling and sight word practice ideas for you today.  The first one I call Spaghetti Spelling.  I have used this for years in my classroom and my students seem to always enjoy it.  It's easy to put together and fairly cheap to make. 

To make Spaghetti Spelling you will need:
  • 5 Sheets of red felt
  • Cream colored yarn (You can use white, but the cream colored looks closer to spaghetti)
  • A gallon Ziploc bag

  •  I rounded the corners of the felt to shape it like a plate or platter.  I thought red was a good fit because it would be like the sauce.  Cut the cream colored yarn in all different sizes.  You will want to cut a good amount so that you have enough for all the students in the center.  I usually have four or five students in each center group.  I always make sure I have enough materials for each student at the center.  Students will use the spelling word index cards to practice spelling their words.  The felt and yarn work well together because they cling to each other.  It makes it easier for students to manipulate the yarn into letters and keeps their frustration level down.  After they spell one word, they would select another card and spell that word.  I store all five felt mats and the pile of yarn in a gallon Ziploc labeled "Spaghetti Spelling".  It makes it easy for storing, set up and clean up. 

This is a picture of how I store the center.

 Another idea is to use toothpicks to make letters to practice spelling words.  I suggest using the flat toothpicks.  They are not as sharp and lay flat so it's easier to make letters and you don't have to worry about the toothpicks rolling around.  This idea might not work well for all classes.  Use your judgement.  I know there were a couple of my classes that I would have never attempted this with. 


I found an idea for paint writing on Pinterest and loved it! The idea was pinned from Scribble Doodle and Draw's Blog.  You can read the post with this idea here.  It looked like a lot of fun and the best part was you only needed four items. You will need a quart size freezer Ziploc (freezer bags are more durable), paint, a Q-tip and tape.  Squirt some paint into the Ziploc and reseal it.  Be sure to squeeze the air out.  Tape the bag shut...I didn't do this for my picture, but I plan to tape it shut with blue duck tape before Madalyn uses it.  After it is taped shut you can begin to write, draw, etc on the bag with a Q-tip.  I think this will be lots of fun for students.  You could use this to practice letters, sight words, spelling words, shapes, numbers, etc.  It's a versatile tool for the classroom...and it's fun!


Pipe cleaners (or chenille stems....that sounds so funny to me) are another great tool for the classroom.  You can put several in a basket and you have a ready made center.  Students can bend the pipe cleaners to form letters and spell words.  You can even extend it and have two colors for students to use.  They can use one color for vowels and another for consonants.  If you are unable to use the toothpick idea above you could use pipe cleaners instead.  Just cut them to the length of a toothpick and remind students not to bend them. 

My next idea is one I can't wait to try in the fall.  It's a variation of a number order activity I found for Madalyn on Pinterest last summer.  The number order idea came from the Tot School website.  You can read the number order post here.  Madalyn loved this idea, maybe because it combined craft sticks and Play-doh!  I had her order numbers 1-20.  While she was working on ordering the numbers I came up with two more ideas.  I thought ordering the alphabet and using letters to spell words would be fun activities as well.  I decided to have one color for vowels and another for consonants.  I just used a marker to color the craft sticks in the picture.  I am adding colored craft sticks to my ever growing "To Buy Before Fall" list.  Seeing the two colors in their words will help them understand the importance of vowels and see patterns in their words. 


My last idea is another easy and fun one that students enjoy.  Are you seeing a pattern here?  Easy...fun....students enjoy it...  Writing in the sand is so fun and relaxing.  Students really like it.  To make one sand writing box will need a plastic pencil box, colored sand, and a pencil.  It's really easy.  The most expensive thing is the colored sand, but if you use a coupon at a craft store it's not too costly.  Just fill the bottom of the pencil box with sand.  You want enough in there so that the student can easily write the word and not scratch the bottom of the pencil box.  Add a pencil and the words cards and you are ready to have fun!  Below is the one that I made for Madalyn to practice her words.  We had fun the day I made it.  She wanted to see how long of a word we would have room to write, so we kept trying different words.  She also liked drawing in it. 


I hope you enjoy these center ideas! 


Pin It!

Sunday, February 17, 2013

Spelling/Sight Word Practice Part 2

My favorite kindergartner and I had some fun this weekend taking pictures of some of the spelling centers I have used in my classroom over the years.  She just started spelling in her kindergarten class a couple weeks ago.  I wanted to show her some of the ways she could practice her spelling words at home.  In my classroom I would have a different activity in the spelling center for each day of the week.  My reading centers were typically four days a week. The fifth day was used for assessment and then I would let the students have a free choice of centers for review during the remainder of our reading block. 

Weekly Activities for the Spelling Center:
  • Monday-Introduction of words, write 3 times each on white boards, sometimes I would have them pyramid write them
  • Tuesday-Rainbow write the words
  • Wednesday- *This is the day that I would rotate activities every couple of weeks to keep things fresh
    • Spaghetti Spelling (More on this in Part 3)
    • Stamp a Word (Eeeeek!  This one would always be messy and drive me crazy!  Any tips on making this center less stressful for me???)
    • PomPom Spelling
    • Letter Tiles (So noisy!  I found a great and FREE alternative for this one.)
  • Thursday- Play-Doh Spelling...My students LIVED for this one!
  • Friday-Free choice after assessments


PomPom Spelling
 
This was an easy and fun way for students to practice their words.  I would have a large Ziploc or basket filled with multi-colored PomPoms.  You could even change the colors out to match the various seasons or holidays.  I would have index cards with the weekly spelling or sight words written on them.  They would choose a word and spell it out using the PomPoms.  It was easy and the kids had lots of fun learning their words. 


Letter Tiles...New and Improved....For FREE!
 
My school library has bins of plastic letter tiles that you can check out to use during the school year.  Each year I would check them out and use them, but they were SO NOISY!  My students would dump them on the table, which would make a loud crash.  Then it seemed like they kept moving them around and around, making more noise.   I found a MUCH quieter and FREE solution!  I started cutting the large letters off of boxes.  Cereal boxes, frozen food items, granola bars, fruit snacks, soda, drink boxes, etc.  So easy and it's FREE!  Before I put boxes in the recycle bin I cut off any letters I can use.  I store them in a plastic dish in a kitchen junk drawer. 
 
 
Students will use them the same way as the plastic letter tiles.  They will choose a word card and spell it out using the letters.


Play-Doh Spelling
 
This was always a favorite with my students.  They would pick one of their spelling words and roll Play-Doh snakes.  They would then use the "snakes" to form letters to practice spelling their words.  Simple and easy.  I would have them do this activity at one of the students tables.  After centers were finished for the day I would have members of my "Tidy Team" (two students selected that week to help clean up) clean the table with baby wipes.


I hope you enjoyed some of my spelling center ideas.  If you have any questions, please let me know.  I will have a Spelling/Sight Word Part 3 soon where I will explain "Spaghetti Spelling" and a few new ideas I have found while on maternity leave.  

  
Pin It!

Thursday, February 14, 2013

Valentine's Day/Lunchbox Notes

Hi Mom.....if you are reading today.  I love you!!!!

Today is Valentine's Day.  I planned a special breakfast for Mike and Madalyn.  Luke was still snoozing away in his crib.  I made heart shaped pancakes and bacon.  I try to always set the table the night before to make it easier in the morning. 


I guess I should have turned the light on before taking the picture.  =)


My heart pancake on the griddle.  A little abstract, but so much easier than using a cookie cutter!
 
 
I used this awesome, BIG squirt bottle my Mom bought for me at Chef's Warehouse.
 
 
Two of my Valentines enjoying their breakfast.  Luke had his later. 

 
I packed Madalyn a special heart shaped fluffernutter sandwich (peanut butter and fluff).

 
I just made the sandwich like I usually do and used a large cookie cutter to cut it out.  Easy and she loved it!
 

This week I have also been adding special Valentine lunch notes in Madalyn and Mike's lunchbox.  I usually add lunch notes but these were extra special.  I found them and downloaded them a couple years ago.  You can find them here.  I also write a little note on the back.  Madalyn likes reading hers since she is a reading machine now days. 

I hope you had a special Valentine's Day!

Check back soon.  I'm going to be posting more spelling and sight word practice ideas. 


Pin It!

Tuesday, February 12, 2013

Spelling/Sight Word Practice

As I mentioned before, I am a first grade teacher that is currently on maternity leave.  I am enjoying every second of being home with my little guy and my big girl.  I love that I am able to drive Madalyn to school each day, and pick her up after school.  I have also been going to her school once a week to join her for lunch.  I'm really treasuring our weekly lunch dates.  This will be the only year I'll be able to do things like that, because I will be heading back into the classroom next year. 

While home I have been working on a few projects to use in my classroom next year.  One thing I have been working on is some fun keyboards for students to use at the spelling/sight word literacy center.  I got the idea from the First Grade Fresh blog.  Check out the post here.  I have three of them finished so far.  I still need to work on the other two. 


They were really easy and cheap to make.  I got the keyboards for free from my husband's work.  The keyboards were just sitting around in a storage room.  Ask around, you may be able to find some for free too.   

Here are the items you will need:
  • keyboards (They do not need to work.  I cut the cords off of all of mine so they wouldn't be a tripping hazard in the classroom.  It will also be easier to store them.)
  • Paint Markers (I bought some fun bright colored ones at Michaels)
  • Stickers (I bought a couple of star sticker packages at Dollar Tree)
I painted all the keys that were not letters with the paint markers.  I tried to make them as fun and colorful as possible so that the students will enjoy using them.  After the paint dried, I added the stickers.  This was an easy and fairly cheap project.  I can't wait to use them next year.

I plan on using them one day a week in my spelling/sight word center.  I will have cards made up with the spelling words or sight words for the week.  Students will then use the cards to to "type" the words.  I think it will be a fun way for students to practice their words each week. 

I plan on posting more of my spelling and sight word practice ideas that I have used in my classroom.  Keep Checking back! 
Pin It!

Monday, February 11, 2013

Valentine Cards

Valentine's Day is this week.  Over the weekend, I helped Madalyn make her Valentines for her classmates.  It was a lot of fun!  She even used some of the extra cards to make special Valentines for her stuffed pig, baby pig and cat.  She is the best Mommy to her stuffed animals and dolls.  She has such a kind heart!

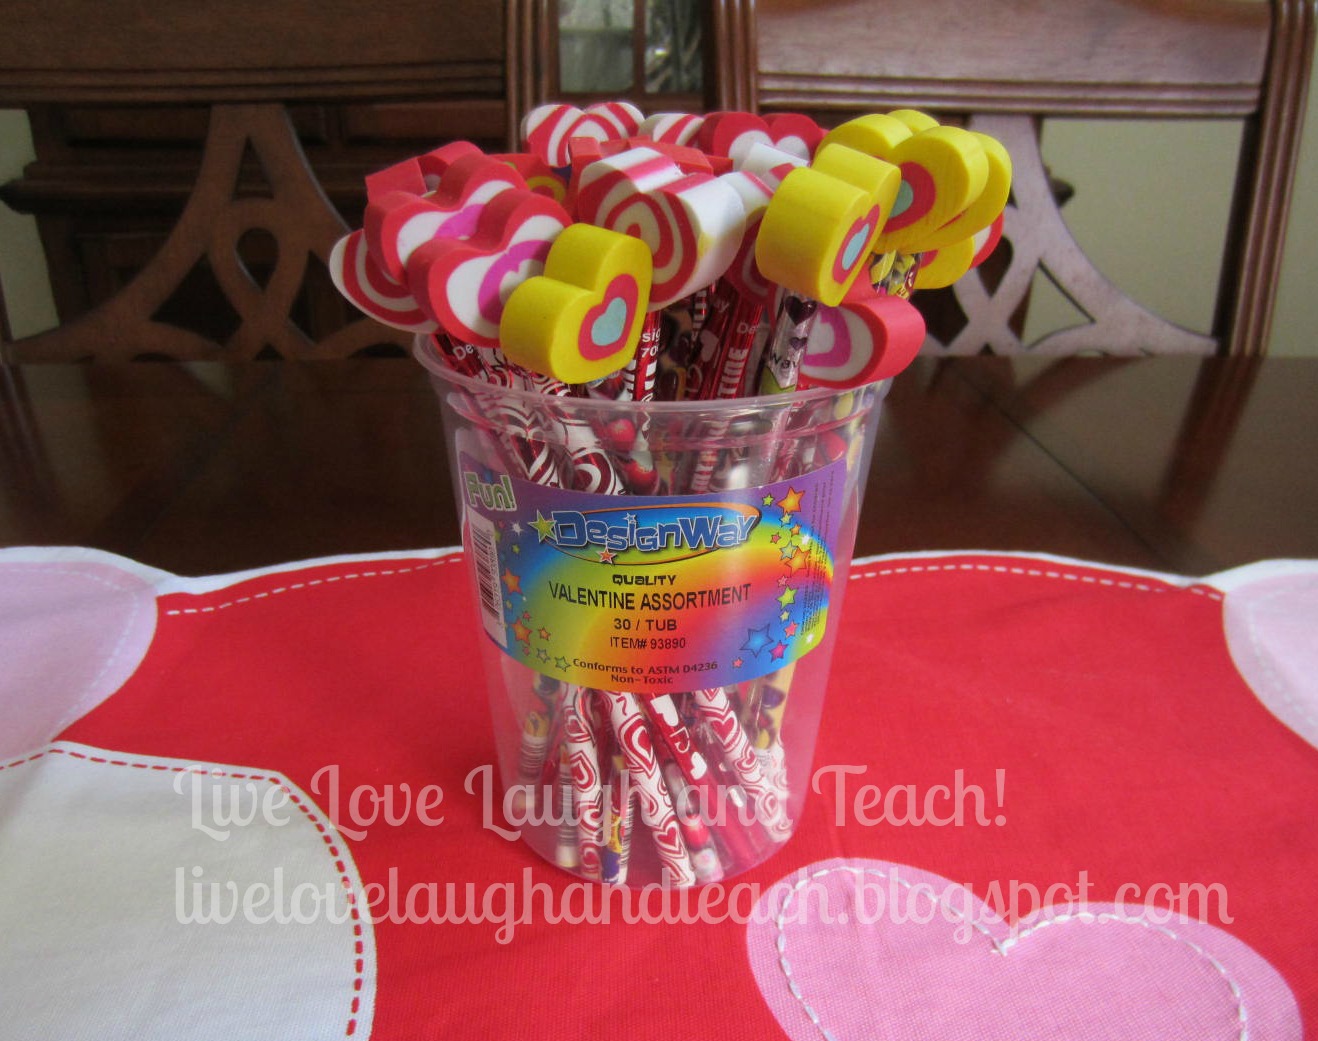
When I was shopping at BJ's Wholesale about a month ago I found the cutest pack of Valentine pencils.  It was a container of 30 pencils for $8.99.  What I deal!  There are only 18 students in her class so we will have extras that I can use in my classroom next year. 

 
I found a great Valentine card printable for pencils on The Teacher Wife's blog.  Click here for a link if you would like to print some too.  She also has a super cute valentine card printable for a glow bracelet. 
 
The Valentines were really easy to make.   I just printed on white cardstock, cut the cards out, cut two slits on each card with a razor blade, wrote "To:" and "From:" on the back.  Madalyn filled in the cards and selected the pencil for each of her friends.  Super easy and cute!
 
 
Pin It!

Family Fun at the Manatee Park

A couple weekends ago we went to a nearby manatee park.  The weather was pretty chilly that weekend and we were lucky enough to see tons of manatees.  It was really a lot of fun!  Here are a few pictures from our family fun time.


I was able to snap this picture of a manatee family coming to the surface for air.

 
Some people were kayaking near where the manatees were congregating.
 
 
Luke loved watching all of the manatees come up for air.
 
 
Ahoy Mate!  Madalyn and I with the pirate manatee.


Mike and Madalyn having fun on the playground at the park.
 

I love family fun time!
Pin It!

Friday, February 8, 2013

Groundhog Day Fun!

Last Saturday was Groundhog Day.  We woke up early and watched Punxsutawney Phil do his thing on the news.  Madalyn was happy that it fell on a Saturday so she was home to see it.  The night before I made a fun centerpiece for the kitchen table in honor of Groundhog Day.  I saw the idea on Pinterest last year. 


I already had the little stuffed groundhog from my days in the classroom.  I set him on top of a cake plate and wrapped a brown towel around it.  It looked like he was poking up from his burrow. 
 
 
During the week Madalyn and I made plans to make a special groundhog treat that we saw on Pinterest (Love Pinterest!).  After dinner we made our special treat to surprise Mike. 
 

It was really easy to make.  We made instant chocolate pudding according to the directions on the package, divided into 4 dishes and chilled them in the fridge while we had dinner.  After dinner we crushed an Oreo cookie and sprinkled it on the top to look like dirt.  Then we stuck a Nilla Wafer Cookie part way in the pudding.  We used a tube of black icing to make the eyes, nose and to help the sliced almonds stick to the back to make ears.  Easy and fun! 

At bed time we read a few Groundhog books together.  I wanted to watch the movie Groundhog Day with Mike after the kids were in bed, but it disappeared off of Netflix that night.  Bummer!

Do you do anything special for Groundhog Day?
 

Pin It!